Adding a New Venue
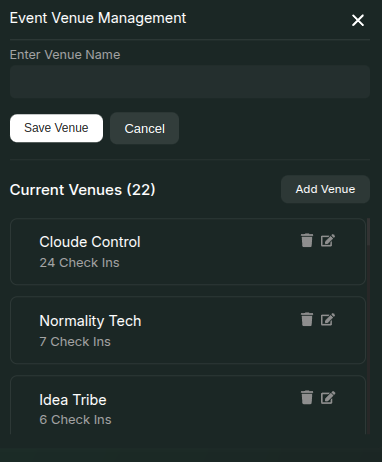
- Click the Update Venues button on the event page.
- In the modal that opens, click the Add Venue button in the top-right corner.
- Enter the Venue Name in the input field and click Save Venue.
- The newly added venue will now appear in the Current Venues list.
Venue Check-in
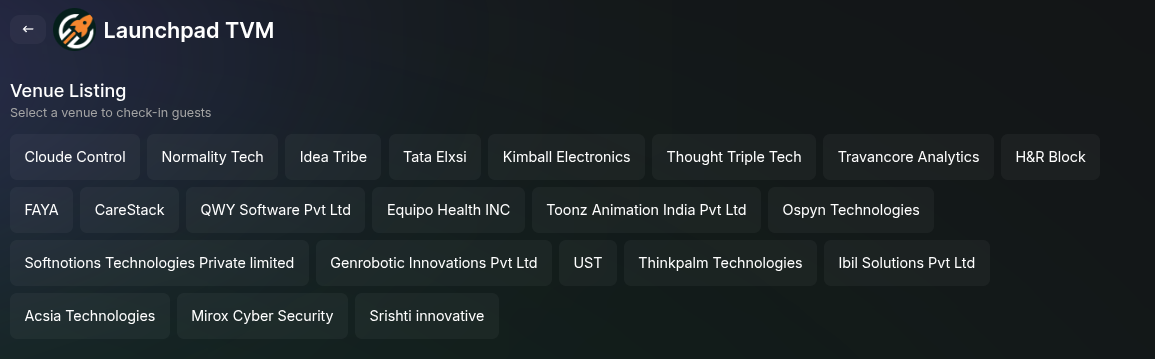
Added Venues being listed at the scan QR section for selection to check-in attendees.
- Once a venue is added, you can checkout the Scan QR section to see the button for venue checkin named Venue Check-in.
- Clicking it will list the set of venues added to the event. Select the venue you want to check in.
- Use the QR code scanner to check in attendees at the venue.
The venue check-in statistics will be available in the Insights section of the event dashboard.
Editing or Deleting a Venue
- Once listed, you can edit or delete a venue by clicking the respective buttons next to it.
If a venue has active check-in data and you delete it, all associated data will be lost permanently.
Managing venues effectively ensures a smooth event experience. Use check-ins to track attendee movements across different locations.